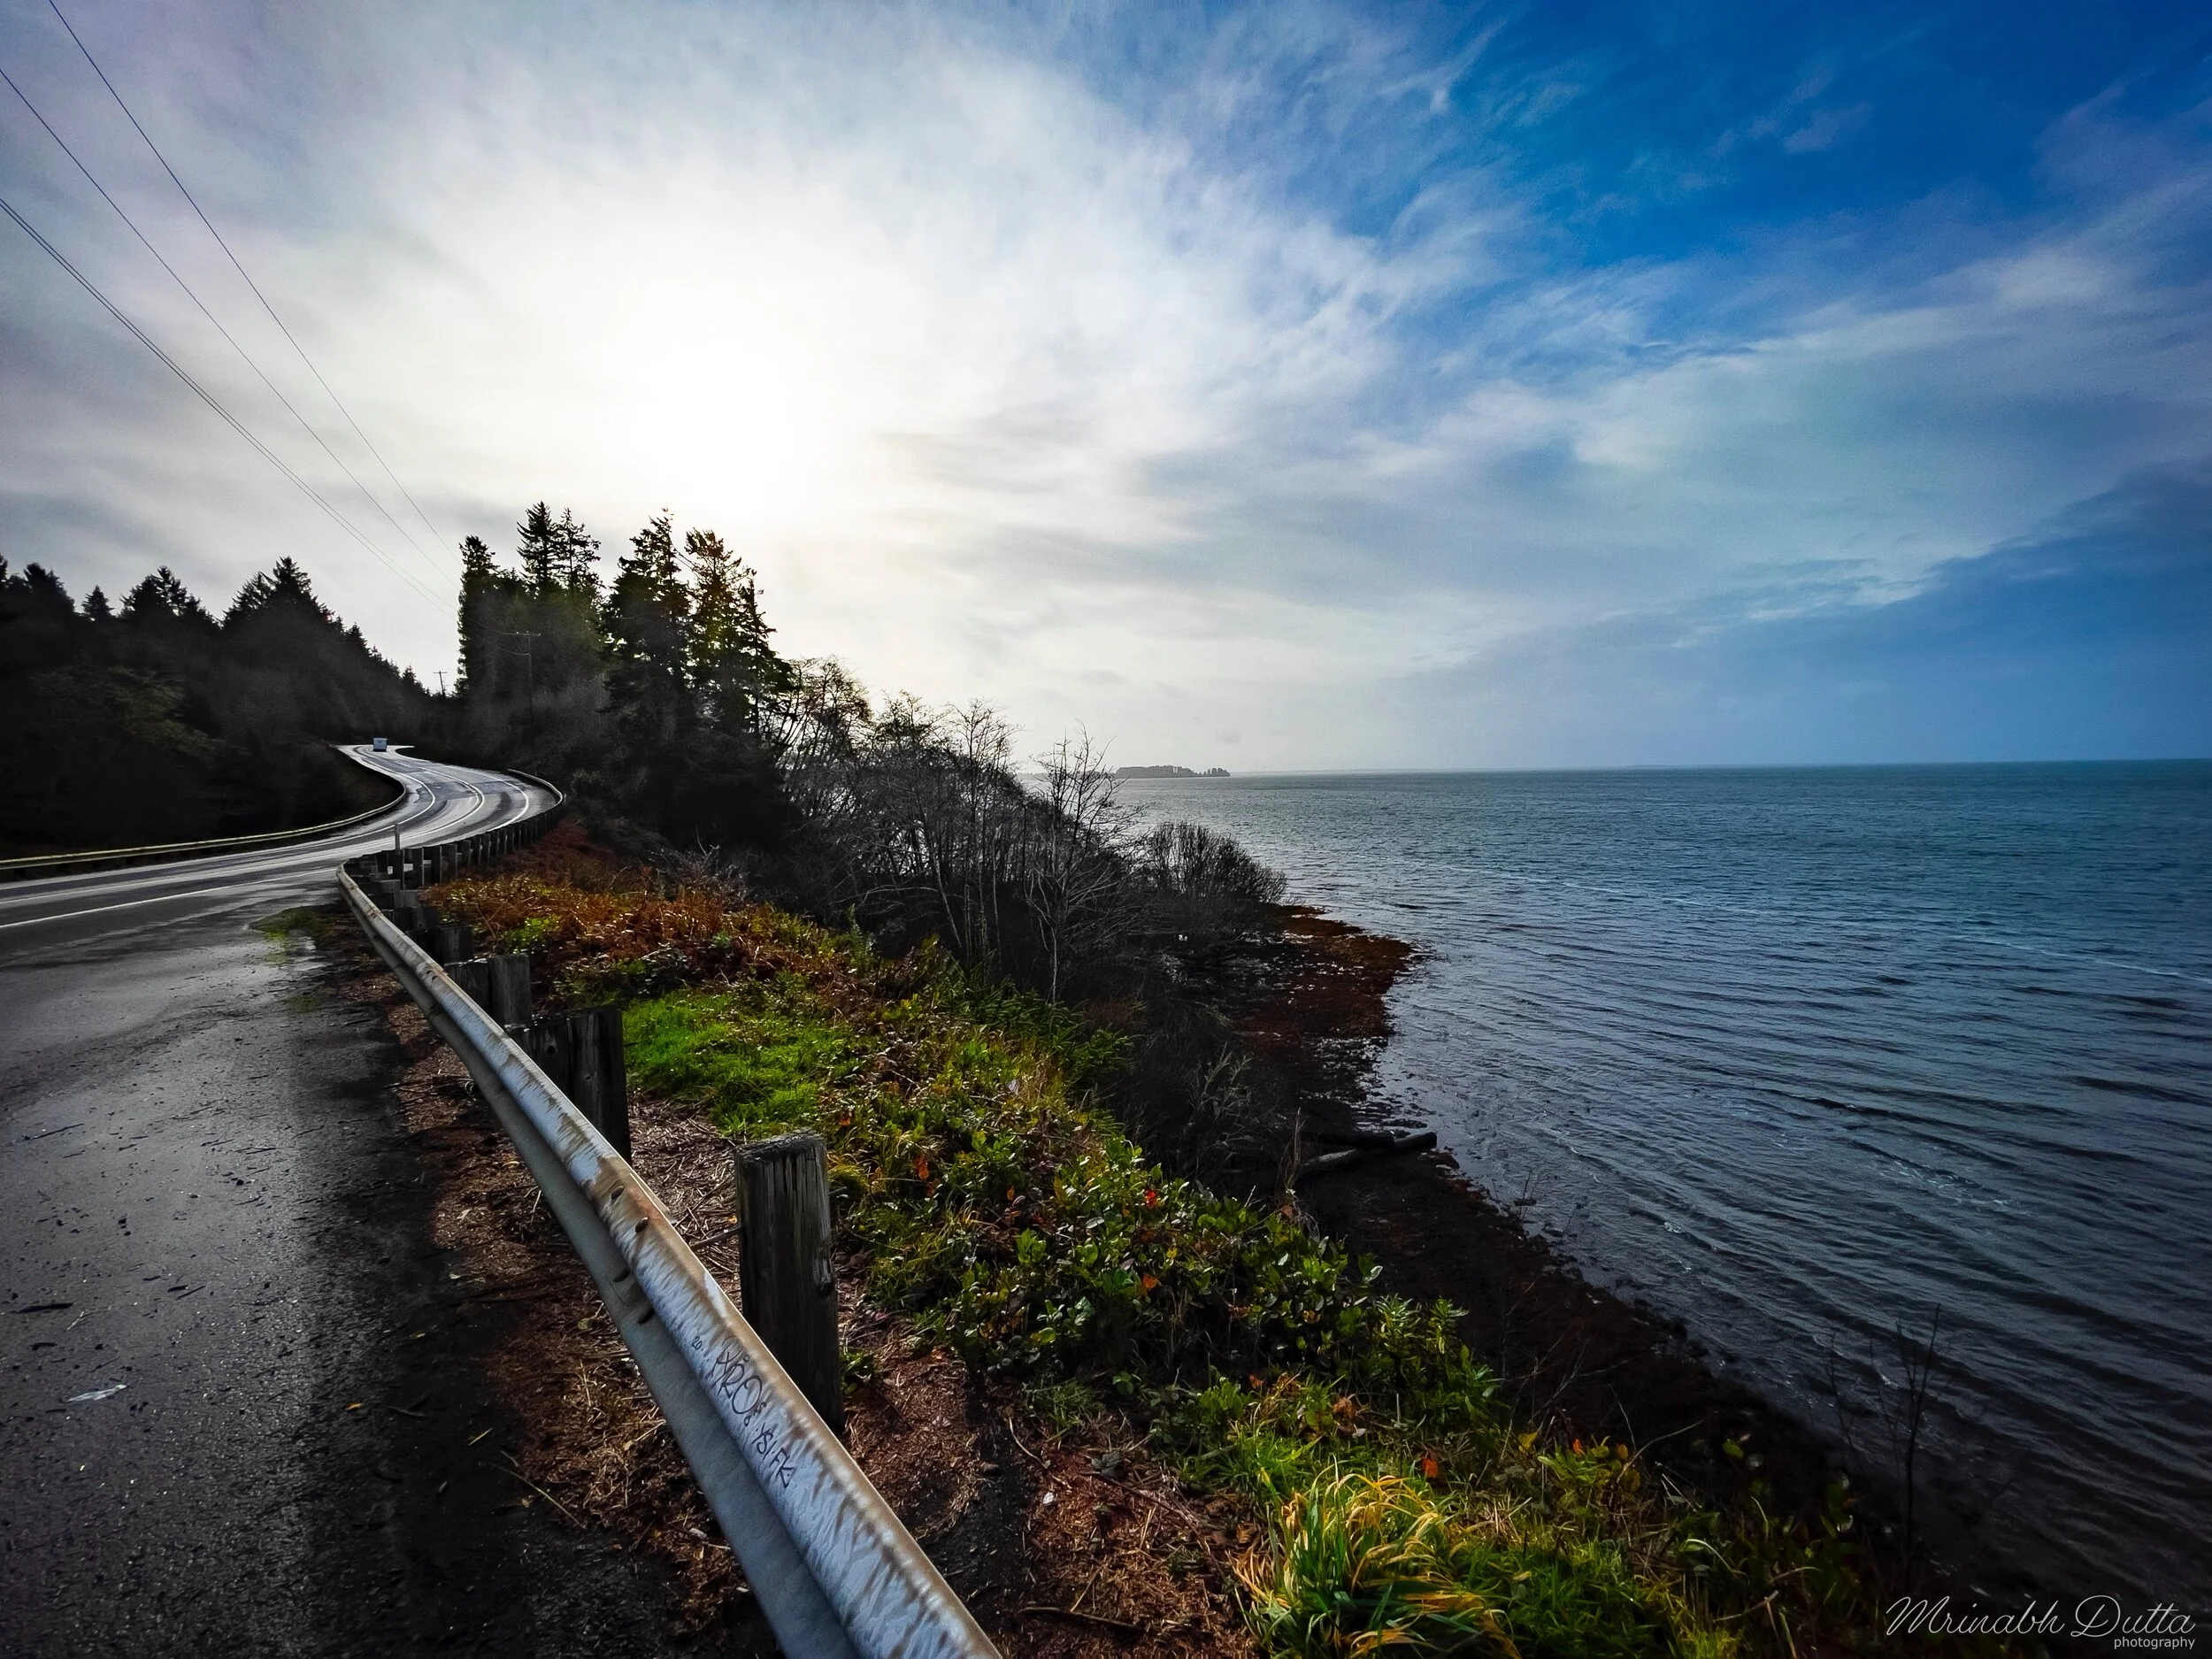
I have two main workflows when it comes to editing photographs - desktop and mobile. Until this year, the mobile workflow was very primitive targeted for social media posts however, I have modified it recently by bringing in advanced tools to align with the desktop workflow. This is a quick blog post describing the core elements in my desktop workflow.
The desktop workflow is primarily for editing photographs I take with the Sony system (and previously a Nikon system, both with hybrid lenses). 99% of the time I shoot with airplane mode enabled to preserve battery, especially since I mostly shoot still images as well as time-lapse sequences in the same trips or sessions. The post shooting journey begins with transferring the images (RAW files) to a staging folder in my laptop. The culled RAW files will almost always end up in a backup - local and/or cloud depending on the assignment or intent for future use.
Before we dive into the workflow I want to set the context to the example image file I will be using.
This image was taken during our trip to Glacier National Park in late-September, 2020. This was my first trip ever to the park and the primary intent of visit was not photography (Emily and I wanted to get away for a few days after we hitched). While I was hoping to see early signs of fall, it was not quite the scenery but these storms bringing in rain and snow moved through the area every day and combined with occasional sun creating amazing display of light and shadows throughout the visit. I was shooting mostly handheld, with ISO set to AUTO, adjusting only shutter speed and aperture. I thought evenly exposing bright background and dark, narrow silhouetted foreground under stormy weather would be a challenge however, keeping ISO at AUTO allowed me to worry about it later.
I knew right there while taking this shot what I want the final export to look like: Dark clouds moving across a bright blue sky, the falling rain columns across the valley contrasting to the dark shadows in the foreground.


